Overview
A regex is a text string that describes a pattern that a regex engine, like JavaScript, uses in order to find text (or positions) in a body of text, typically for the purposes of validating, finding, replacing or splitting.
This allows advanced users to specify a custom regular expression in order to restrict text entered to valid phone numbers, email addresses, dates and other structured content in Umajin.
Prerequisites
- Umajin Editor downloaded and installed
- A basic understanding of what Regular Expressions (regex) are. If you need a reminder, or want further information, read up on Wikipedia
- Completed the Simple Form Customization tutorial and the NFC Component tutorial.
Instructions
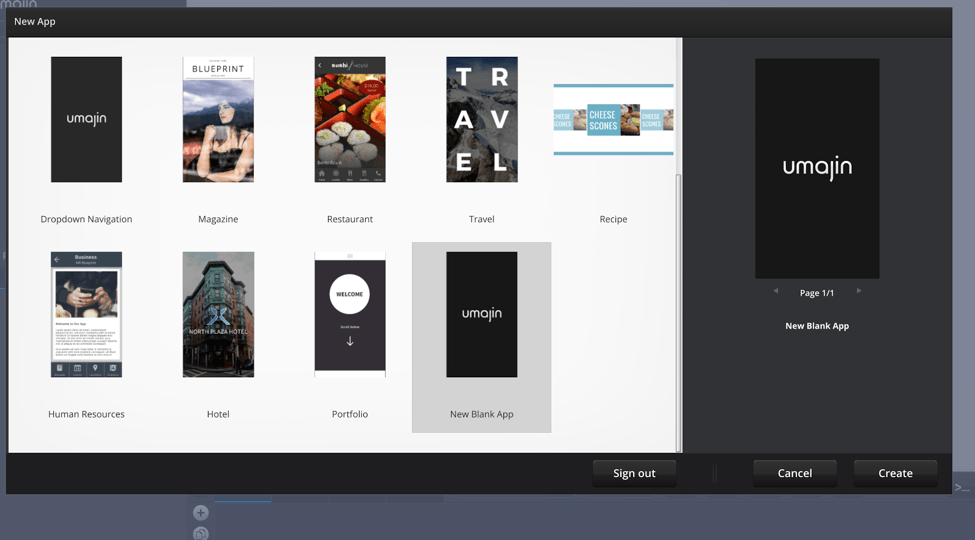
Create a new blank project in Umajin Editor to use as a testing platform for our three validation Components.
Forms and Text Entry Components
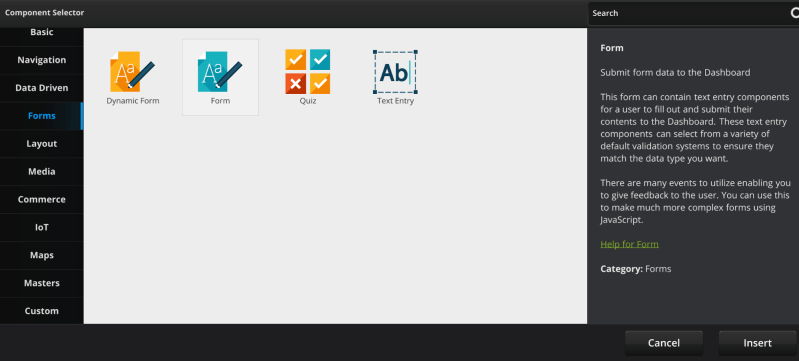
Step 1) On the desired page, insert a Simple Form. To do this, click the big plus (+) button next to your application name. Open the Forms tab and insert a Form. (This is the Simple Form Component)
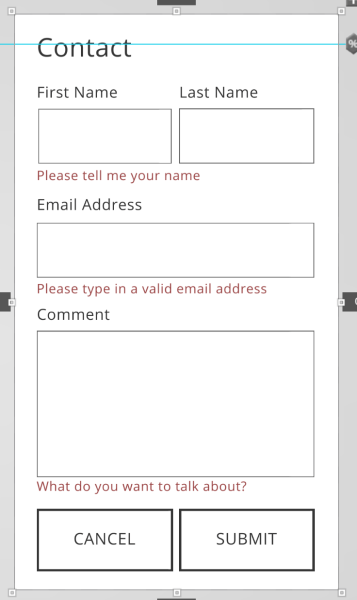
You will notice that this Form already has Text Entry Fields, Labels, Pop ups, and Actions selected for you. The red text is set to only appear when a required field is not completed upon Form submission. All of these pre-established properties can be altered in the Properties menu after selecting the specific Component you desire to change.
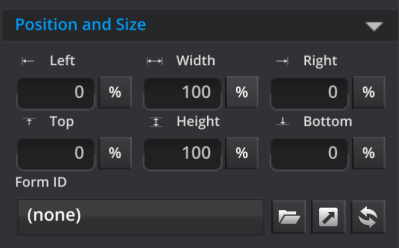
Step 2) Click on the Properties tab and scroll until you find the heading “Form ID”. You will need to go to Umajin Cloud Services/dashboard by clicking the button with the arrow pointing to the upper right hand corner of the white box under the Form ID category.
Step 3) Once in Cloud Services/Dashboard, you will want to name your Form for future use, and to send the information gathered from the Form to the Cloud upon submission. Note that there is also a Button Component allowing you to download submission results once your Form goes live. We will use that later as a testing mechanism.
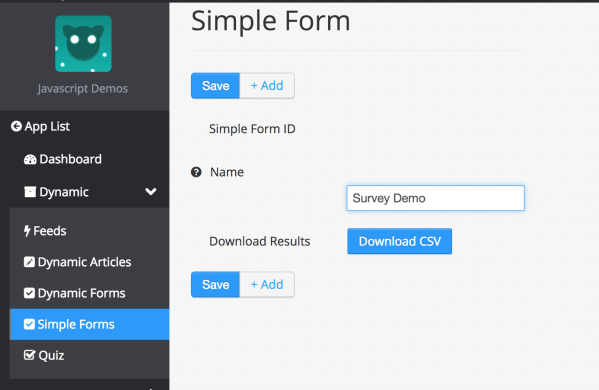
Now head back to the Umajin Platform.
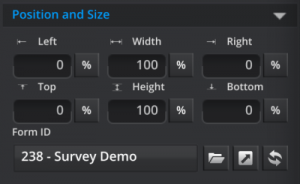
Step 4) Go back to the Form ID Property and select your Form name from the folder.
Step 5) Incorporate regex as a form of advanced validation. In the ‘Properties Inspector’ for each of the ‘Text Entry Components’, under the heading ‘Form Validation’ there is a property called “Validation type”
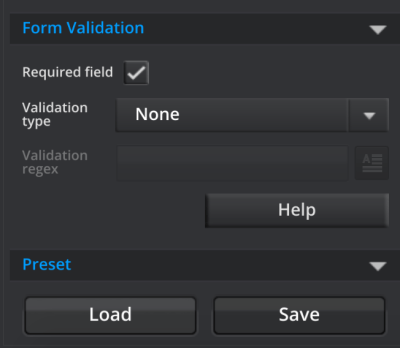
This can be set to any of the options in the dropdown and if the text entered into this field does not match the type selected, then it is considered invalid and the Form submit will not send.
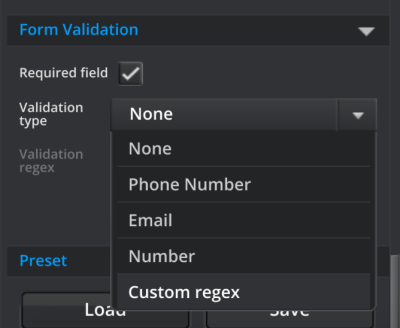
Since we are doing a tutorial on the incorporation of regex in Umajin, select ‘Custom Regex’.
Step 6) Enter your desired Regular Expression. If you are drawing a blank, here are some examples:
| ^[a-zA-Z0-9._+]+@([a-zA-Z0-9-]+[.]+([a-zA-Z0-9]+[a-zA-Z0-9-]+[.]+[a-zA-Z0-9]{2,6})|([a-zA-Z0-9-]+[.][a-zA-Z0-9]{2,6}))$ | |
| Number | ^(-?0[.]\\d+)$|^(-?[1-9]+\\d*([.]\\d+)?)$|^0$ |
| Phone | ^[+]?[0-9]{7,14}$ |
Step 7) Test out your advanced validation. If the text entered into this field does not match the custom regex, then it is considered invalid and the Form submit will not send.
NFC (Near Field Communication) Components
While setting up an NFC Component in Umajin, regex can come in handy to specify certain types of items.
Step 1) Create a new blank project in the Umajin Editor to use as a testing platform for our new multi-device platform.

Step 2) Set up the base project and physical NFC device that will be used for testing. For our demonstration purposes, we will be using two NFC bracelets, and the project base. Both are pictured below.
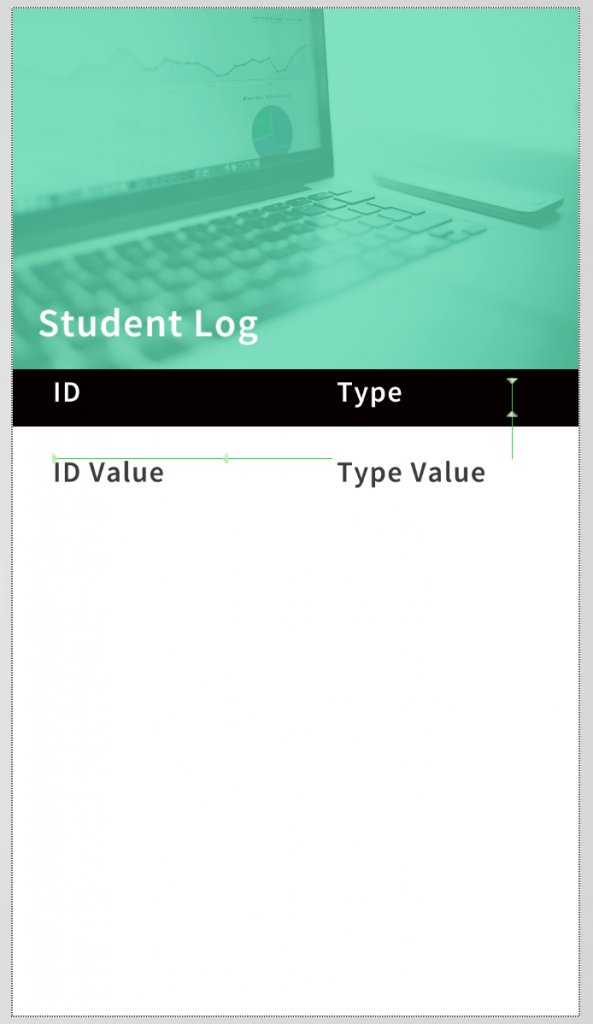
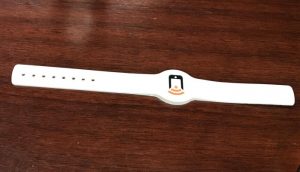
Each bracelet holds information regarding the student’s ID, which can be set using an NFC reader project like “NFC Tools”. If the ID begins with an “s” it represents a full time student. If the ID begins with a “p”, it represents a part-time student. The ID itself will be displayed upon device recognition where the text says “ID value”. The corresponding type of student will be displayed where it says “Type Value”.
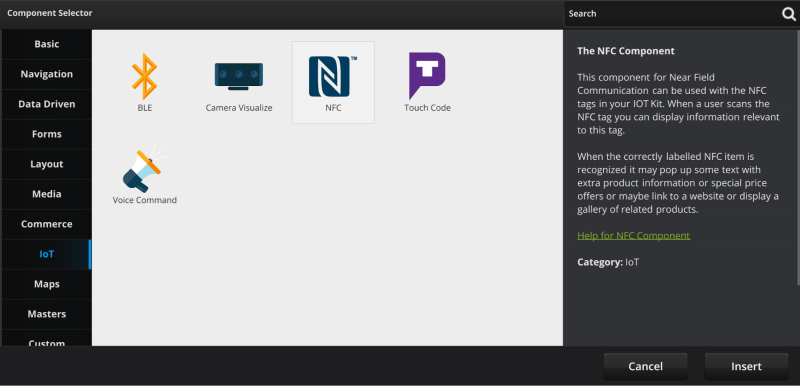
Step 3) Now it is time to set up the NFC Component in the Umajin platform. This will be completed over the following few steps. As a reminder, NFC recognition is currently compatible with android devices only. To add the NFC Component, click the large plus button to the right of your project name. This opens the Component Selector, as pictured below. You will want to click on the IOT tab to insert an NFC Component. This has no Properties or Action states.
Step 4) Add an NFC Item to your Component. Click your newly added NFC Component and then click the big plus button that appears beside the label. Now you have an NFC Item that can have corresponding properties and actions. Since we have two bracelets, we will do this again so that two NFC Items are registered.

Step 5) Set the Properties of your NFC Component. You can choose to set only one or both, as explained below. The two properties that NFC Items have to set are: ID and Command.
| ID | ID/serial number of a NFC tag you want your project to recognize. An example would be 113a440c or 11:3a:44:0c This is a non-write ID property/serial number of the NFC tag hardware. This number can be read using a project such as “NFC tools” |
| Command | The NFC tag text field you want your project to recognize. This is a writable text field of a NFC tag. Not all NFC tags have this field. In some cases, the text field may have been written then set to read-only. Again, to read/write/lock this field (if present) on your NFC tag, you can use an NFC reader such as “NFC tools”. |
Either one or both of these Properties can be set to trigger an Action in the project. For secured recognition: set the ID Property of the NFC Component item using the Serial Number of the NFC tag. For flexible recognition: set a text in the NFC tag and use this as the Command.
Property of the NFC Component Item. Use both in situations where you might want to have secured recognition but still be able to change the Command property text NFC tag in order to temporarily bar recognition.
For our purposes, we will use flexible recognition. Our IOT devices hold a text element containing a student ID either beginning with an “s” or a “p”. Using “^s.” finds any command starting with the letter “s” which will be used for our full time student in NFC Item 1 as pictured below. We will use “^p.” for NFC Item 2 corresponding to our part time student.
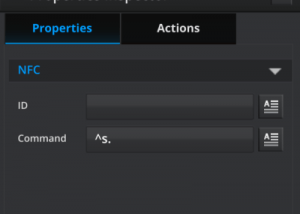
This is where the regex becomes a very useful tool. If you only want to extract the device information from those with commands containing a phone number, you can use “^[+]?[0-9]{7,14}$”
Step 6) Now we can register the Action event for our item. NFC items have only 1 Action event: ‘On Recognize’.
| On Recognize | You can add actions/navigation to the project when the correct labelled NFC tag is recognized. You may choose from the categories list in the Action Selector. Using [command] and [id] |
For our example, we will add an Action to change the text in our text boxes to the student ID and student Type, respectively. The first image pictured below is the Action registered to NFC Item 1, and the second to NFC Item 2.
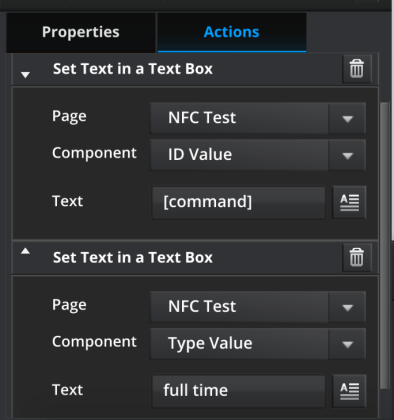
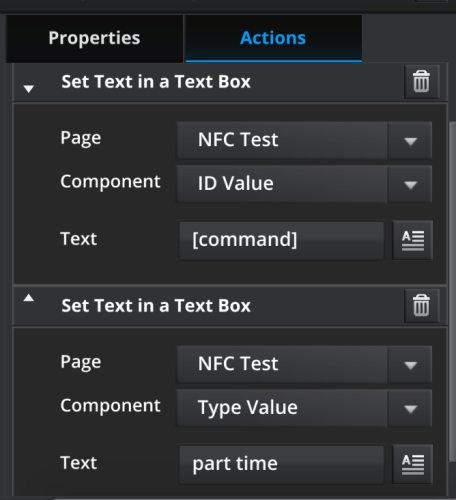
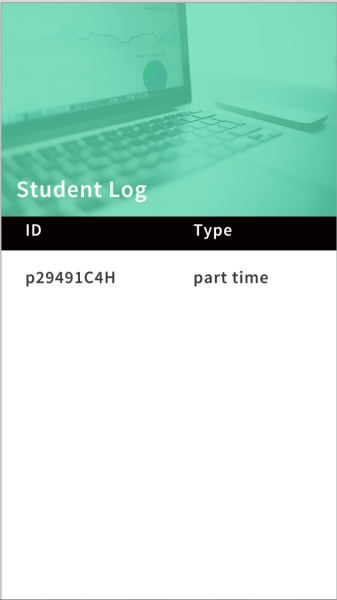
Step 7) Open your Umajin Mobile Editor on your android device, and test our your NFC recognition component. After scanning our part-time student’s NFC device, this is what our project looks like:
To find out more about making your own RegEx look at the links on Wikipedia
Examples:
.at matches any three-character string ending with “at”, including “hat”, “cat”, and “bat”.
[hc]at matches “hat” and “cat”.
[^b]at matches all strings matched by .at except “bat”.
[^hc]at matches all strings matched by .at other than “hat” and “cat”.
^[hc]at matches “hat” and “cat”, but only at the beginning of the string or line.
[hc]at$ matches “hat” and “cat”, but only at the end of the string or line.
\[.\] matches any single character surrounded by “[” and “]” since the brackets are escaped, for example: “[a]” and “[b]”.
s.* matches s followed by zero or more characters, for example: “s” and “saw” and “seed”.