Introduction
This tutorial will show you how to create some relatively simple custom feeds to use in Feed Lists and Feed Item Views of your applications. Custom Feeds can be used to retrieve information from legacy data sources and/or transform data from any source into presentable information.
The ‘Hello World Feed’ examples are here to give you the basic structure of a Custom Feed.
API Summary
The three main things you need to implement a custom feed:
- registerFeed() – tells Umajin about your custom feed, and a callback function to call to get the data.
- a callback function – you implement this function. It is called for each component that needs data. Your callback should then call the setCustomFeed() function to supply the data.
- refreshFeed() – this tells Umajin the data for the feed needs to be refreshed (for example, you have retrieved new data from the web).
Prerequisites
Before starting to use JavaScript code in your application, you need to install Umajin Editor and it may be helpful to set up a JavaScript code environment as well. Try the Visual Studio Code Setup tutorial which will help you to install a code environment and add a JavaScript debugger for when your code isn’t working.
Hello World 1
This example simply creates a very simple feed with four records and only one field (message) which does not use any parameters… it’s literally just a hard-coded JSON formatted string, which is passed to the dynamic component where this feed is applied.
We will assume that you are starting from scratch, if you have already completed the Custom Actions tutorial then you could open the Hello World project you created, use the menu in Umajin Editor to open VS Code to the right project and skip to Step 3.
- Open your code environment. This is easy if you have set up Visual Studio Code.
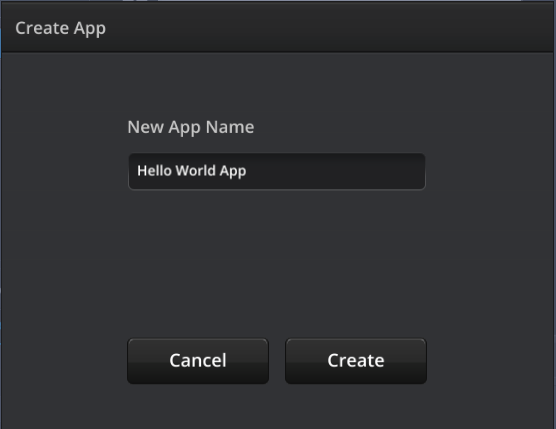
- Open the project you want to add JavaScript in to. You could create a new project for this tutorial and call it something like ‘Hello World project’.
- Go to the File menu in Umajin Editor.
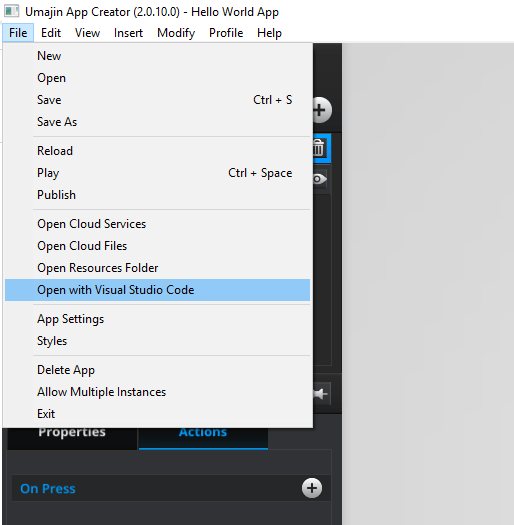
- Click the “Open with Visual Studio Code” menu item. This loads up and opens the Visual Studio Code environment, points it at the /scripts directory in your project’s Resources Folder and adds all the configuration files needed for you to use JavaScript in your project.
- Create a new File, it doesn’t matter what you call this file as long as the extension is ‘.js’. E.g. ‘helloworld.js’
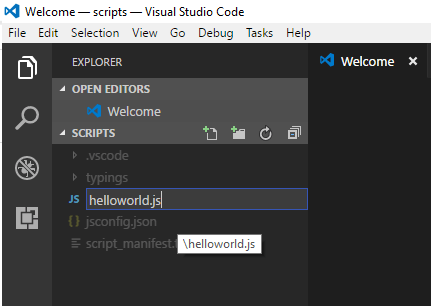
- Copy the code below into the text area when the file opens.
// Hello world feed with no parameters registerFeed('helloWorldFeed1', 'helloWorldFeed1', ''); function helloWorldFeed1(component) { //Simply apply 'stringified' JSON data using the 'setCustomFeed' function setCustomFeed(component, '[{"message":"Hello"},{"message":"To"},{"message":"The"},{"message":"World"}]'); } - Save the file

- Go back to Umajin Editor and click on a Page (or create a new page).
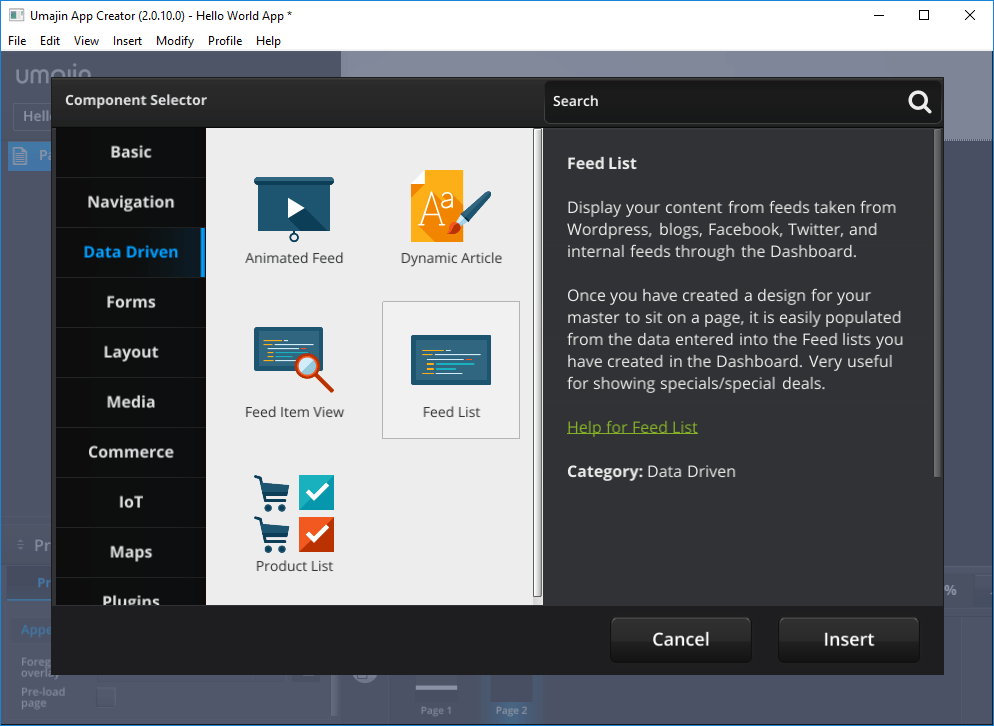
- Create a new Feed List Component and add ‘helloWorldFeed1’ Feed ID under Data Binding. Follow the help tutorial on ‘Setting up a feed list’ here for more details on how to connect the Master and map the field.
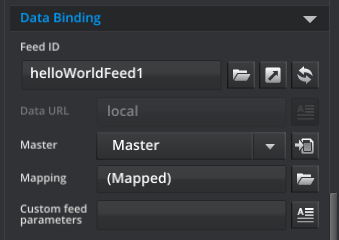
- Once you have added a suitable Master and mapped the ‘message’ field in the feed to a Text component, you should have a Feed List that shows all the messages in the feed.
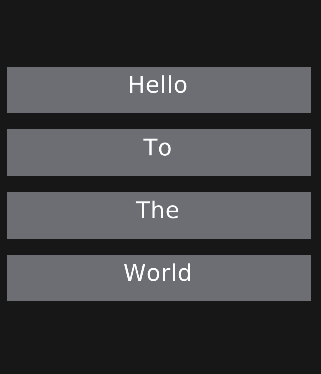
You have now created your first custom feed in Umajin Editor and can use this sequence of steps to create any feed you like.
Hello World Feed 2
Using the same Hello World project, you can create a new feed; let’s call it ‘helloWorld2’ in VS Code and then map that to the same Feed List above – you will have to add 2 Text Components to the Master and re-map the fields of the Feed to see all the information.
// Hello world feed with a parameter
registerFeed('helloWorldFeed2', 'helloWorldFeed2', 'string:messageBody');
function helloWorldFeed2(component, messageBody) {
  var feed = '[';
  for(i=1;i<=10;i++){
    feed += '{"index":"' + i + '","message":"' + messageBody + ' ' + i + '","size":"' + (i*10) + '"}'
    if (i<10) feed += ","
  }
  feed += ']'
  setCustomFeed(component, feed);
}
This custom JavaScript creates a somewhat contrived feed that consists of an index, a message (created by the concatenation of a custom feed parameter and the index) and a ‘size’ which is calculated by multiplying the index by 10. This shows the ability to present calculated and reformatted data in a custom feed, as well as using custom feed parameters with the feed.
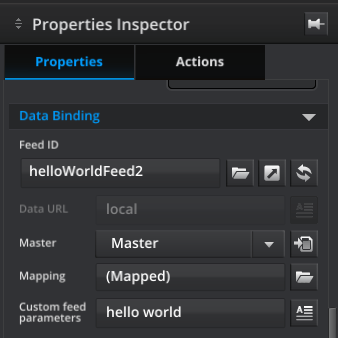
You can add any message you like in the ‘Custom Feed Parameter’ property to have it display the message as part of the feed. For example, if we use the above parameter then the result should be similar to the below image.
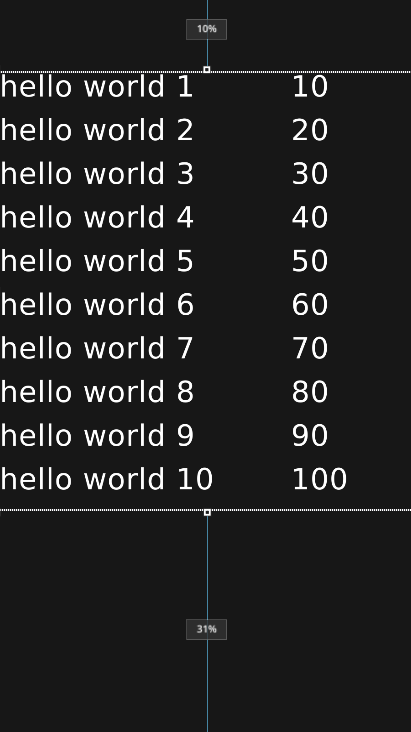
Now you could try changing the way the feed is created in JavaScript or go on to the example below.
Local Database Feed Example
Usually a custom feed will be used either where the data needs to come from a REST API call or other data store and then manipulated, or the data calculated for presentation purposes. In this example, we will use a local database that we will create with database schema commands such as cacheDbOpen, cacheDbExec, and cacheDbClose.
registerAction("setupDatabase", "", "setupDatabase", "");
function setupDatabase(){
  cacheDbOpen("mydb.db");
  // now if the tableb already exists, we drop it so that it clears any erroneous data from previous runs
  cacheDbExec("mydb.db","DROP TABLE IF EXISTS Company;");

  // Create the table again so that we can fill it
  cacheDbExec("mydb.db","CREATE TABLE Company(ID INT PRIMARY KEY NOT NULL,NAME TEXT, AGE INT, ADDRESS CHAR(50), SALARY REAL);");

  // insert some test data
  cacheDbExec("mydb.db","INSERT INTO COMPANY (ID,NAME,AGE,ADDRESS,SALARY) VALUES (1, 'Sally', 32, 'California', 200000.00 );");
  cacheDbExec("mydb.db","INSERT INTO COMPANY (ID,NAME,AGE,ADDRESS,SALARY) VALUES (2, 'Stan', 20, 'Sweden', 120000.00 );");
  cacheDbExec("mydb.db","INSERT INTO COMPANY (ID,NAME,AGE,ADDRESS,SALARY) VALUES (3, 'Jeff', 42, 'Texas', 82000.00 );");
  cacheDbExec("mydb.db","INSERT INTO COMPANY (ID,NAME,AGE,ADDRESS,SALARY) VALUES (4, 'Fred', 45, 'Norway', 110000.00 );");
  cacheDbExec("mydb.db","INSERT INTO COMPANY (ID,NAME,AGE,ADDRESS,SALARY) VALUES (5, 'Mary', 39, 'Texas', 90000.00 );");
  cacheDbExec("mydb.db","INSERT INTO COMPANY (ID,NAME,AGE,ADDRESS,SALARY) VALUES (6, 'Ellen', 30, 'Texas', 98000.00 );");

  // now close the database (for now)
  cacheDbClose("mydb.db");
}
You will need to put the above action into the On Page Load event of the page where you want to show the information so that the database is able to be created/cleared.
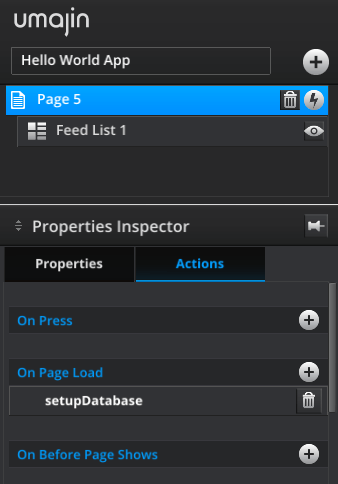
Of course, you could also put it into a splash (or start) page event if you want the data to be persistent for the current session or, if you want the data to persist across sessions, call the setupDatabase function from JavaScript – only if it’s not already created.
registerFeed('demoFeed2', 'demoFeed2', 'string:address,string:sortkey');
function demoFeed2(component, address, sortkey) {
  cacheDbOpen("mydb.db");

  var mysql = "SELECT * FROM Company ";
  // use the address as a filter (if the 'address' parameter has been set)
  if (address != null && address.length){
    mysql += "WHERE ADDRESS = '" + address + "'";
  }
  // use the sort order key (if the 'sortkey' parameter has been set)
  if (sortkey!=null && sortkey.length){
    mysql += " ORDER by " + sortkey;
  }

  var rawJSON = cacheDbSelect("mydb.db",mysql)
  setCustomFeed(component, rawJSON);
  cacheDbClose("mydb.db");
}
Note: This is a demo which has no input cleaning for the parameters. In a production system, never allow input from a user to be appended directly to an SQL query – this behavior opens the project to SQL Injection attacks.
Now you can add the feed to a Feed List component as you have in the above tutorials; remember to set a master with enough Text Components to show the data and to map the fields to the components.
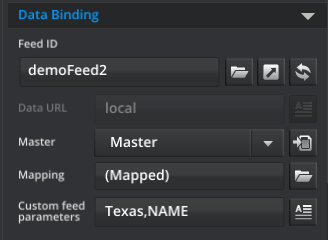
Use the Custom Feed Parameter to drive what is displayed in the feed. “Texas, NAME” will show the records of people from Texas in Name descending (A to Z) order. The result of this parameter is shown below.
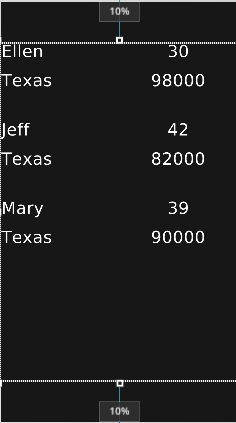
Custom Feeds are incredibly powerful for a presentation of data from any source that is available. Information can be manipulated and reformatted before display in Feed Lists, Animated Feeds and Feed Item Views within your applications.