Overview
The apeConnect API allows you to create your own real-time communication channel for your projects to communicate through. This can be useful if you would like to allow any type of communication between projects. In this guide, we will walk you through how to create and implement a simple form of chat messaging communication. In order to properly demonstrate the multiway communication, this demo will be incorporating the use of creating Custom Feeds to display our chat communication and Custom Actions used to transmit out data to other devices.
Prerequisites
- Umajin Editor downloaded and installed.
- Any text editor.
- Completed tutorials for Custom Feeds and Custom Actions
Instructions
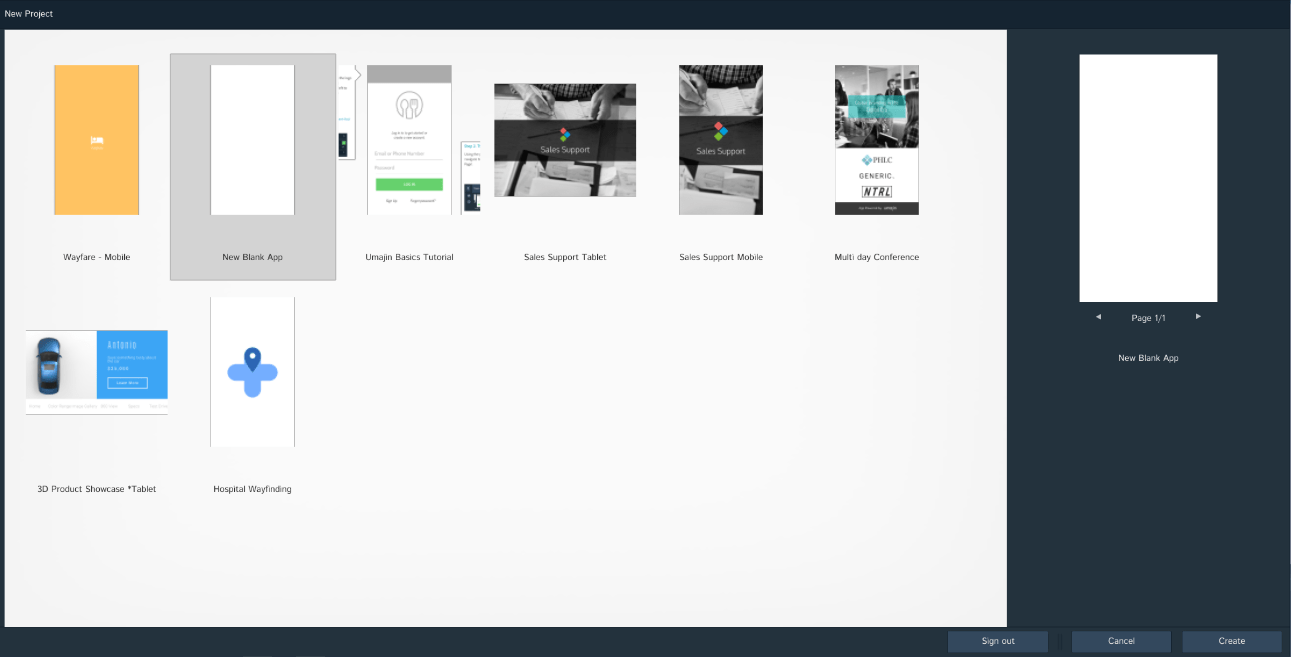
Step 1) Create a new blank project in the Umajin Editor to use as a testing platform for our multi-device connection.
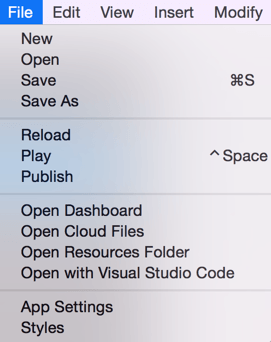
Step 2) Create a new JavaScript document and name it something that relates to your desired action. For our example, we will be naming the file simpleChat.js because our goal is to demonstrate the use of apeConnect to allow chat messaging between more than one device. Make sure that you save this file in the scripts folder under the Umajin Resources Folder.
File → Open Resources Folder → scripts
Step 3) Initialize your connection using a call to the built in apeConnect function. This function takes in the following four parameters.
apeConnect(channelName, connect_function, data_function, error_function);
| NAME | TYPE | DESCRIPTION |
| channelName | string | A unique name for the communication channel. This creates a new channel if it does not already exist. |
| connect_function | string | The name of a Javascript function to use as a callback upon successful connection. It takes no parameters. |
| data_function | string | The name of a Javascript function to use as a callback when data is received through the channel. It takes two string parameters; the first parameter is the channel that data was received from and the second parameter is the data packet. |
| error_function | string | The name of a Javascript function to use as a callback if a channel cannot be established. It takes no parameters. |
apeConnect("myChannel234","connect_function", "data_function", "error_funtion");Using the apeConnect API we set our channel name to any name of our choosing, any other devices listening on that same channel will be able to receive and broadcast traffic. In this example, we set our channel name to “myChannel1234”. For the last three parameters, we specify the names of the functions to get called when we connect, receive data in and have an error connecting to the channel. These functions are specified as strings. For simplicity we are going to call our three functions “connect_function”, “data_function”, “error_funtion”.
Step 4) Now, we will define the functions listed above as parameters 2, 3 and 4. When the device connects to the channel, we will use apeSend which broadcasts to the other devices that a new device is using the channel.
function connect_function(){
   apeSend("Hey! new device here");
}
Step 5) When data is sent through the channel, the data function will be called. We have two conditions in this function. If the data sent is simply the notification defined in the connect function, nothing needs to be done. However, if the data is our message data, we will want to format it in a way that will allow the information to be displayed to the users in a feed. Our JSON Data will be stored as a Global Variable so that it can be accessed by all other methods in our file.
var jsonData = "";
function data_function(pubid,data_in){
   if(data_in == "Hey! new device here"){
       return;
   }
   else{
       data_in = data_in.replace("[","");
       data_in = data_in.replace("]","");
       if(jsonData.length == 0){
           jsonData += data_in;
       }
       else{
            jsonData += "," + data_in;
       }
       toFeed();
   }
}Step 6) Finally, we will define our error function. This function gets called when apeConnect cannot connect to the channel, there is no data passed to the function so we will keep this extremely simple, and print out that there was an error connecting to the channel. To allow the user to be aware of the error, we will allow a pop up window to display an error statement as well.
function error_function(){
   callAction("show_popup","Error Connecting to Channel.");
   print(“error connecting to channel”);
}
Step 7) To display our messages to the channel users, we will want to display them in a Custom Feed. This is explained in detail in our registerFeed tutorial.
registerFeed("messageFeed", "messageFeed",'');The Feed stems from the messageFeed function. This function simply provides the initial conditions for the Feed List display. We use a temporary JSON with empty strings for the text.
function messageFeed(component){
   var tempJson = '[{"user":"' + " " + '", "message":"' + " " + '"}]';
   setCustomFeed(component, tempJson);
}
Step 8) We need a way for the message information to be transferred to the Feed List itself. This is where we will write our toFeed method as seen back in step 4. This function gathers the JSONData and places it into a new Feed.
function toFeed(){
   var newFeed = '[';
   var myData = JSON.parse("[" + jsonData +"]");
   for(i in myData){
      var sender = myData[i].user;
      var message = myData[i].message;
      var feedItem = '{"user":"' + sender + '","message":"' + message + '"},';
      newFeed += feedItem;
   }
   newFeed = newFeed.substring(0,newFeed.length-1);
   newFeed += ']';
   updateFeed(newFeed);
}
Step 9) Now we will define a method that updates the Feed. FeedListGlobal is simply the FeedList that we are using.
function updateFeed(feedData){
  setCustomFeed(feedListGlobal, feedData);
}
Step 10) Now we need to register an Action that will enable the sending of a message. Our Global Variable sendData is the string of data that will be sent through the channel. It takes in two text entries as parameters: one providing the information regarding who the message is being sent to, and the other containing the message itself. For a more detailed explanation of how to register an Action, see our registerAction tutorial.
registerAction("sendMessage", '', "Send Message", "component:user:text_entry,component:message:text_entry");
var sendData = ''
function sendMessage(user, message){
   var userText = getProperty(user,"text");
   var messageText = getProperty(message,"text");
   var sendData = '[{"user":"' + userText + '","message":"' + messageText + '"}]';
   apeSend(sendData);
}
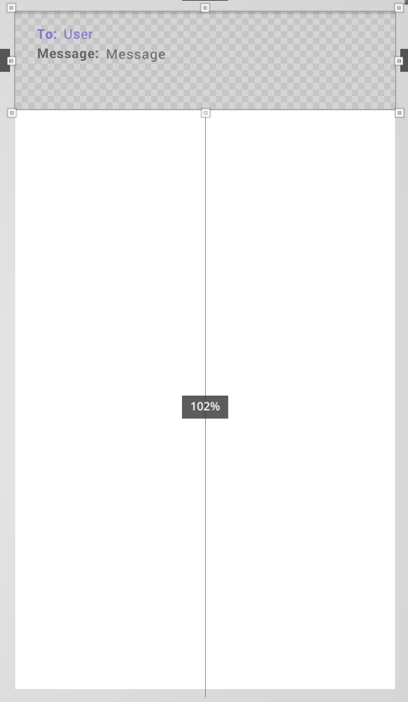
Step 11) Now it is time to set up the Umajin platform for testing. You will want two pages in your app: one containing the Feed List Component, and one containing the Text Entry Component to send a message. The first step is adding the Feed List to the first page. We will create a Master that includes four Text Components: two that will serve as labels, and two that will be mapped to the information sent in each message. The Feed List is placed in the center of the landing page. In the top right corner of the landing page is a Button Component which navigates the user to our messaging page.
| The Master | The Landing Page |
 | 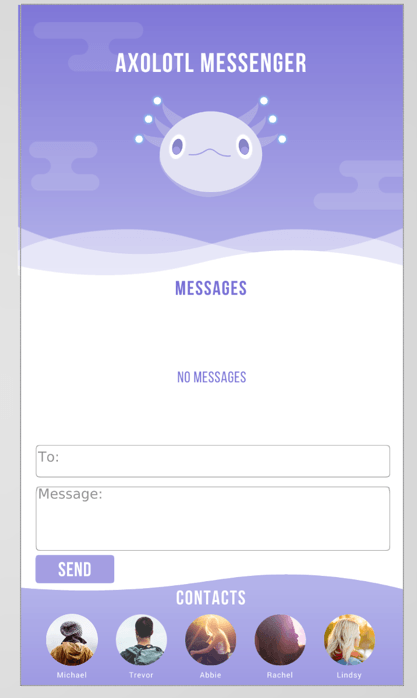 |
Step 12) Creating the messaging page. Our messaging page has two Text Entry Components which allow the users to type in information regarding who they want their messages to be sent to, and what those messages should say. The “Send” button corresponds to our sendMessage Action, and the “Go Back” button navigates the user back to the landing page.
Messaging Page
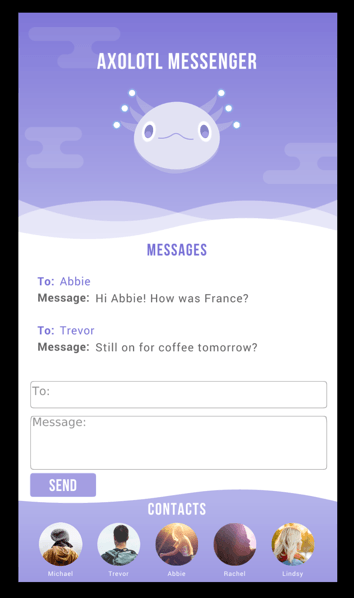
Step 13) Once you have all of the Components and Actions properly mapped, test out your messaging system. Here is our Landing Page after sending four messages. The Feed List can be scrolled through by the user.